Sunday 29 May 2011

SUBTRACTIONAL CUTTING PROJECT...

In addition to my independent projects we managed to complete another triumphant task by creating a dress using a technique called Subtractional Cutting. I didn't get up to taking pictures of my final result but I can show you how we managed to create the dress.
The patterns were already done for us which saved us plenty o
f time.
1. First we took the front and back patterns and threw them on the fabric in any direction and traced round them. I had to interpret a circle into my design so had to trace around it at the bottom corner and then diagonally
opposite notching them so you knew where they matched.
2. Then we drew lines inside the shape so we knew where we had to cut out of.
3. Constructed the tube by sewing down the top and the side left open 1cm seam allowance.
4. Cut out all the shapes and notched them, constructing the dar
ts in the front.
5. Then I matched the shoulder seams up and side seam sewing 1 cm seam allowance.
6. Then I matched the circles up at the notches and sewed a 1c
m seam allowance.
7. Created the facing.
8. The finishing touches were hand tacking the ruffle and the hem line and the garment was completed.
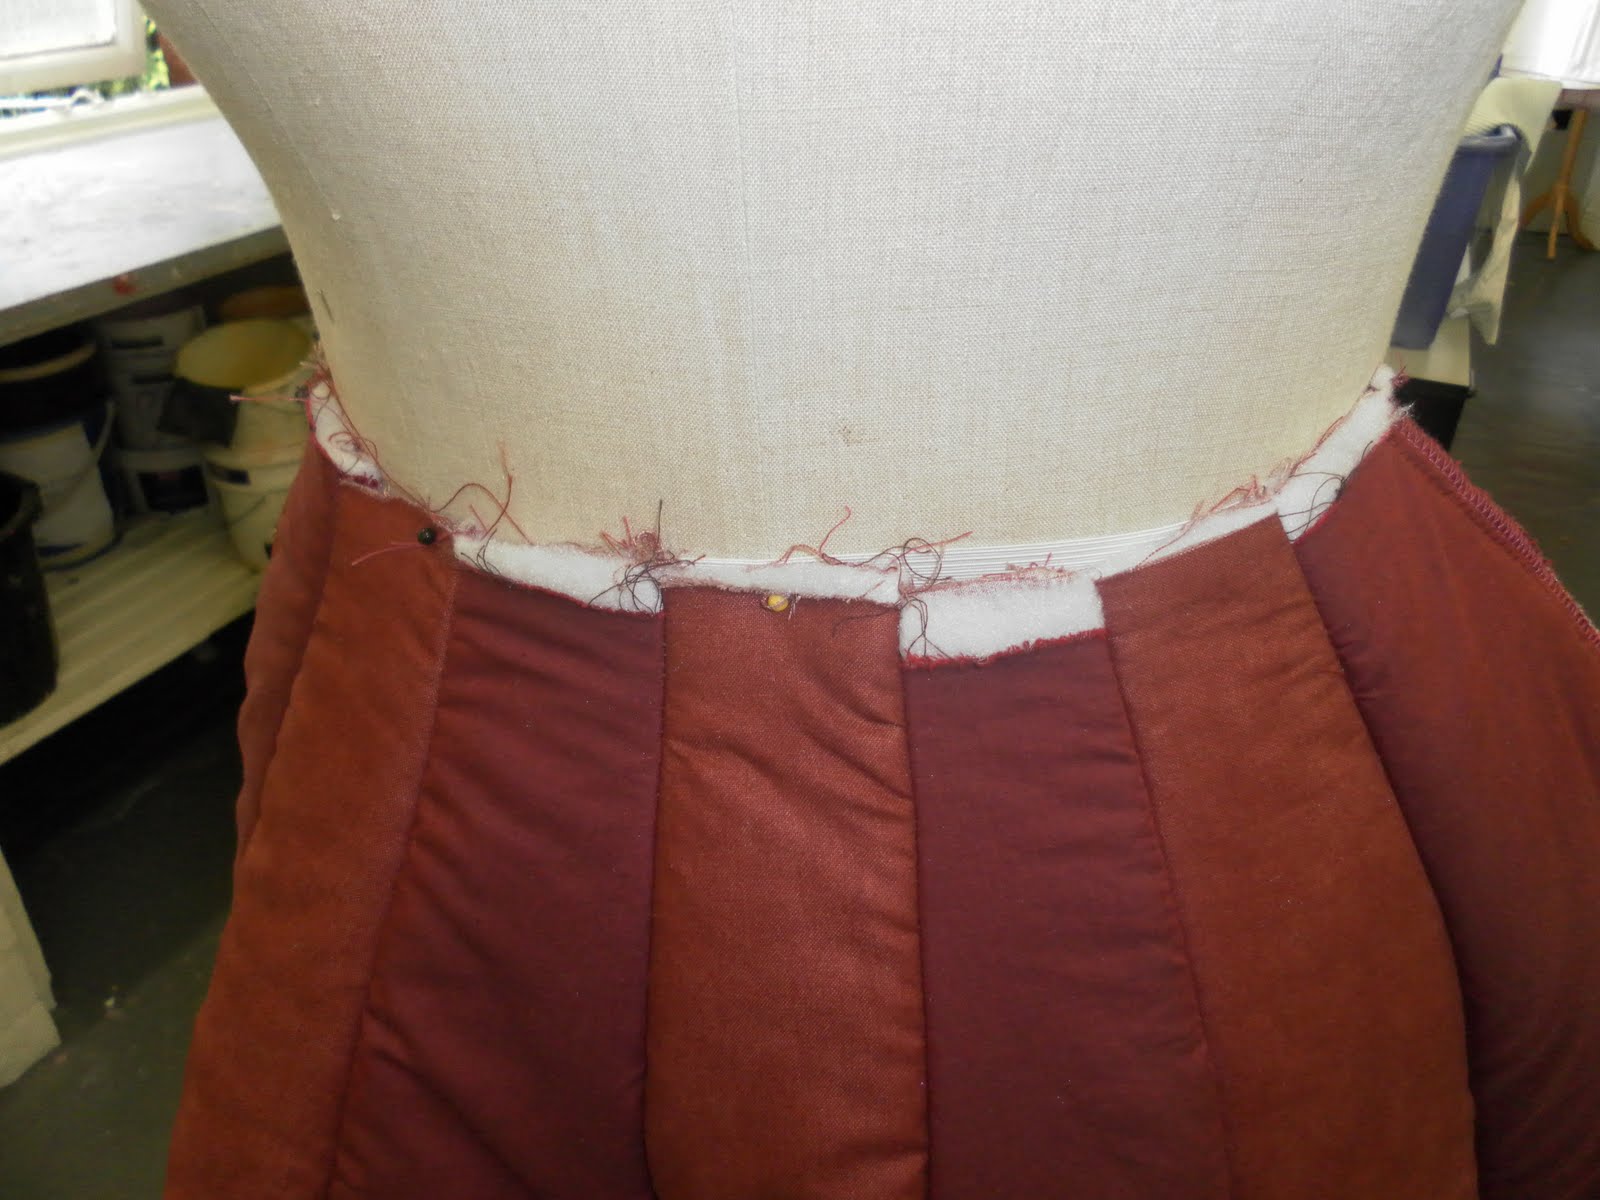
I did say that I haven't got pictures of my final result but I will definitely post it once I have got back into college and got it on the mannequin which will mould the shape and emphasise the shapes created.

EXPERIMENTING WITH DIFFERENT MEDIA TO PRODUCE MY ILLUSTRATION BOARD...

I have been experimenting with various medias and materials trying to illustrate my design taking influences from illustrators works that I have researched into.
This first attempt has been influenced by Maren Esdar taking
the surreal element and characterisation of her designs and combining it with other collage techniques using inks, pencil, paper and cardboard. I think this would act as a clear resemblance of what my design looks like but could do with a bit more detail providing mot interest and character to the illustration board.


The next attempt was inspired by Maren Esdar and Jackie Bos using the collage technique incorporating stitching. This works but it quite plain and simple and doesn't reflect the 3 dimensional aspect of my design so I would have to use bolder shapes and harsher materials and media.

This was inspired by Carlos Aponte taking the tape collage and applying it to my design features and using the element of the scale with the heads taken from Maren Esdar's work.I think this works really well but I don't like how this design looks in black it is too much and overpowering.
This attempt was my favourite using mixed media of fine liner, collage and ink taken from the influence of Maren Esdar and Lovisa Burfitt making it contrast and more dynamical to what my design creates with the contrast of circles and triangles.

Thursday 26 May 2011

FINISHING THE SKIRT OF MY FINAL DESIGN....

Today I managed finish my skirt for my final design sewing on the remaining panels and attaching both front to back leaving the right side free for the zip insertion. This time round the skirt was aligned at the centre and the side seams allowing it to fit. There was a little bit more than 1.5cm left for the zip but I can always take a bit off at the last panels. I can now begin to sew on the circles but have to make sure they are secured on areas which won't need altering. I will continue to keep you updated because this isn't finished yet!

Tuesday 24 May 2011

CUTTING OUT MY CIRCLES FOR MY BODICE...


To prepare myself for the bodice construction I have cut the circles out in advance to save time and make it easier to apply to my bodice. I am still waiting for one of the fabrics so have cut out the remaining 3 fabrics as that will be the next step after finishing my back of the skirt. The way in which I created these circles was by tracing around a masking tape tube and simply cut around them. Easy! I decided to leave the raw edges as it links in with my chosen theme giving the feel of a working class era.

FRONT OF MY SKIRT IN FINAL FABRIC...

I think this way worked the best making more excitement throughout the garment allowing the lights to capture the different colours in different ways as the model walks down the catwalk.The red fabric was harder to work with that's why it doesn't quite fit because I have checked my patterns and it is my appalling sewing skills but that will be sewn onto the bottom of the bodice so it won't be seen. I have managed to complete all the front panels but need to sew the back panels together to then sew them together both front and back and fit it to the mannequin and see if it fits hopefully it will!

BODICE FOR MY FINAL DESIGN IN FINAL FABRIC...

I managed to complete the shell of my bodice and my construct my skirt panels at the weekend getting the pieces completed whilst I wait for the fabric for my circles over the bodice. The fabric was easy to work with as it has similar qualities to that of Calico and I think it fits really nicely. I know what your thinking the fabric isn't that exciting but it links in with working class and will be covered by different patterns and shades of brown. I can't face it until I fit the model and sew on the remaining circles so that will be one of my last steps before finishing my final garment.

SILLY MISTAKE...

The other day I was struggling with one of the panels trying to fit two pieces together when clearly they didn't want to so pulled the fabric as you do to unfasten the stitches and the fabric ripped. The shock and then the stress kicked in I actually thought it was the end of the world. I know how sad am I? Everything I have done to contribute to this dress has gone wrong and I didn't realise how stressful it really is. Anyway I found a solution and decided to alternate the panels because panels 4 and 2 had different fabric so switched them round so one was brown and the other was deep red. Problem solved!
I ironed on some light weight interfacing to fuse the ripped fabric together and sealed up the sides with 1cm seam allowance.

Sunday 22 May 2011

MANUFACTURE PLAN FOR MY FINISHED DRESS FOR THE 2011 MID CHESHIRE FASHION SHOW...

This is my manufacture plan for my college fashion show.

1. Creating the bodice - Sew the darts in the back bodice and attach all 3 sections of the front together using 1.5cm seam allowance and over lock.
2. Reduce bulk at the bust point and press open.
3. Sew the shoulder and side seams together using 1.5cm seam allowance and over lock still leaving the other side free for the zip to be inserted.
4. Create the facing by sewing all the front sections together using 1.5cm seam allowance and attaching at the shoulder and side seams of the back facing piece and over lock.
5. Right sides together and pin at the shoulder seam and continue to distribute ready to sew 1.5cm seam allowance.
6. Press over to the opposing side to then be attached in the retaining row of 0.5cm.
7.Press.
8. Creating the skirt - Sew the 1st panels first placing both fabric pieces on top of the Wadding and sew 1.5cm seam allowance from the first notch curving it neatly to then carry on straight leaving the raw edge ready to sew to the next panel and over lock.
9.Repeat this process for all the panels -2,3,4 but then leave both raw edges for panel 5 making it easier to attach to the other panel 5 on the front or back and over lock edges.
10. Turn the right way round and match notches together and sew a 1 cm seam allowance up to the top of the panel.
11. Sew the panels together matching the 1cm right sides and sewing a 1.5cm seam allowance and over lock edge.
12. Make sure it fits the mannequin at the side seams and sew onto the opposing panel 5 on the other side and leave the other zip free for the zip to be inserted.
13. Due to the caution that the bodice might not fit the model I will have to hand tack the circles up to above the bust point and attach the facing and the rest of the circles after it has been fitted.
14.Attach the bodice and skirt together by placing right sides together and sewing a 1.5cm seam allowance matching them at the side seams from the zip on the front to the zip on the back then over lock and turn the right way up.
15. Insert the zip.
16. Press any creases out and remove all threads ready for the catwalk.

Thursday 19 May 2011

CHANGING MY DESIGN FOR MY DESIGN BOARD...

Due to the fact that I have changed the way in which I create the circular shapes over the shoulder I have had to illustrate them in manner where it is clear what the effect is. I traced off my original drawings keeping the same features the same just amended the bodice and feel it has worked out better and addresses the audience more appropriately and looks more like my design.FRONTSIDEBACK

I definitely prefer these illustrations and the next stage will to add colour as I have an idea of the colour selection I want to use and create my design board which is another task done.

CHOOSING MY FABRICS

Straight after finishing my Toile I was already choosing my fabrics using the guidance of my colour scheme and going off the samples I had requested from many different manufacturer's and companies. I didn't have such a good day yesterday as I didn't realise how stressful searching for fabric was. One of the fabrics I was in desperate need for was no longer in stock, I couldn't decide between two different fabrics for my bodice and just to top the day off I got on the wrong bus. I managed to find two of the 4 fabrics that I need for the circles on the shoulder. I also ordered the collage fabric from a German company so hopefully it should arrive soon and still awaiting to collect two other fabrics and my fabric buying should be done. My overall idea was to have the circles in various patterns and have the skirt and bodice in a plain colour still continuing the same colour scheme throughout avoiding a separation as the aim is to make it look as a dress not a skirt and bodice.
COLLAGE FABRIC - 100% Cotton, Width:110cm and £14.99 a metre.
PLAIN RED/ BROWN COTTON - 100% Cotton, Width: 113cm and £2.65 a metre.
PLAIN BROWN COTTON - 100% Cotton, Width:113cm and £2.65 a metre.
LIGHT BROWN COTTON - 100% Cotton, Width: 110cm and £2.35 a metre.
LEAF PATTERNED FABRIC - 100% Cotton, Width: 140cm and £7.80 a metre.

I think all these fabrics are suitable for my dress because the cottons all share a flimsy but secure quality to the fabric and all obtain an interesting pattern that relates to my theme and is within my colour scheme. The red/ brown cotton is suitable for the skirt because it will go well with the fabrics used for the circles and will work well with the wadding because it is a light weight.

FINISHED TOILE...

This is the finished result after I had sewn both skirt and bodice together and I feel that it looks good but the only problem is the central panels as I need to make them the main priority whilst sewing the panels of the skirt together. I feel the bodice fits really nicely sculpting the silhouette of the size 14 mannequin.

Tuesday 17 May 2011

FINISHING MY TOILE...

Because it's me creating this Toile you can guarantee there will be some problems with the sewing, which indeed happened whilst fitting the skirt to the mannequin as it was too big because instead of 1.5cm seam allowance I had reduced it to 1cm. This meant I had to take in every seam by a lot more but what I didn't look at was the centre front and back panels which now have moved off centre so if this happened again I would pin them central before taking anything off.
The last stage of my Toile was sewing the bodice to the skirt with this time 1.5cm seam allowance and sewed the side seam up
half way leaving room for the zip.
Taking into account all the problems I have had it has prepared
me for fittings week as I know how to take away if the dress is too big.

I thought I would add the finishing touches to the garment focusing on the shoulder section using the circles and hand tacking them under the facing but for the final thing attach them on the bodice before I attach the facing.

Monday 16 May 2011

STYLING AMBER ROSE...

Today we have had a visit from a freelance stylist - Jemma Sawyer, which has educated us on the manic world of fashion styling.We got the task of creating a 1 page feature for Amber Rose in ID magazine so as you can imagine it has to be high fashion and very bold and powerful like she is. For the clothing centre piece we got inspiration from her previous styles, trend and looks she often appeared in but updated it to suit a couture market level making it more appropriate for ID magazine.


For the make up we decided use block colours which are back in this season as it reflects her personality and her casual clothing style. Due to the fact she has little hair we decided to make the photo shoot have a concept and use paint to show an outburst of colour and energy making the image more dramatic. For the shoes we were inspired by her background and culture choosing a shoe with rope and beads revealing a African American nationality.The sunglasses are Amber Roses statement piece so we thought we had to involve them in the image and decided on a plain black and white background focusing on her and what she was wearing.


I think I have learnt quite a lot today and got a better knowledge of the styling aspect of fashion and right now not sure what I want to pursue in the industry but styling could possibly be one of them.


Friday 13 May 2011

CREATING MY SKIRT FOR MY TOILE...

For my Toile I have began to create my skirt creating them from calico and wadding sewing them altogether to create an outrageous structure. I didn't realise how much these panels would go out by and at the moment really like the idea of it being longer giving it a lot of volume and structure. I like the way the panels get shorter and having a interesting angle to them making them exceed outwards.I am happy with the outcome and really like the way it attaches itself to the bodice and then progressively grows outwards.It fits nicely at the waist making it obscure the figure but then rebel and go an do its own thing which I intended to do. I actually imagined it to be less structure and am really happy that there is more structure making it more noticeable.

PATTERNS FOR SKIRT PANELS...

For my skirt panels I had to measure the length of the bottom of the front and back bodice to then take away the seam allowance and divide by 9 to find an individual length of the top and made sure I had 28.5 cm length at the bottom because I wanted it just above the knee and joined then lines. I had to take the measurement up by 5cm each time I created a new panel to make it shorter notching the edge where it was going to connect and add a notch on where the other would attach itself to.

The information on the pattern is for the central panel: Cut x2 fabric and Cut x1 in wadding and then for all the rest of the panels: Cut x4 fabric and Cut x 2 wadding making them all equal on either side. So far I haven't had any problems with the back patterns but it could be another story with the front.

OH NO PROBLEM!

For some reason this blog post has been deleted so I have to re post it or else I don't know where I'm up to with my toile diary! Whilst I was creating my panels I came across a few problems and decided to solve them the next time I came across them. First problem I came across was when I bagged out both corners and realised it didn't fit on to the next panel because the length was shortened during the bagging out process. I then chose to unpick the stitches on the left side and keep the right bagged out because the left side wouldn't be seen.
The next problem was that the raw edge on the right was showing so I realised I had to leave the left side a raw edge and bag the right corner out because that would be the side revealed on the design. Due to the fact that it was a toile I could leave the 2 mistakes in which I left raw edges but made them less obvious by top stitching holding them down and making them look neater.I am glad I cam across these problems at this stage because I know exactly how to approach the design and not allow any of these mistakes to occur.