Showing posts with label sewing. Show all posts

Tuesday, 17 April 2012

LAST TOILE TO COMPLETE - THE SENSELESS JACKET...

I have finally reached the end of my toile making, which is quite daunting because no more mistakes can be made.


First of all I made the kimono style jacket using all 1cm seam allowance. I then placed it on the mannequin and sketched on the design lines to where my panels would be.
Then I sewed the sleeve seam under the arm to then attach to the raglan seam which allowed me to ease the under arm panels in. I then attached the centre front panel using 1cm seam allowance making sure all the notches were matching. Lastly I attached the centre back panel making sure the middle of the front panels attaching matched the middle of the centre back panel.
I feel like inserting these panels has gone well so far but the hardest part - THE LINING is yet to come so I hope I survive! How does it look?

Wednesday, 28 December 2011

LEGGINGS PROGRESS...

I'm finally getting there with my leggings, I only have a few more shapes to sew on now. Hopefully I should have completed them in a couple of weeks, when I get back to college. I have now resorted to hand sewing them on due to how I am finding using the machine too difficult and fiddly. I still find it difficult to hand sew the shapes on but I think it is a little bit more easier. Can you see the progress?

Saturday, 19 November 2011

CREATING MY BLOCKS AND PATTERNS FOR LEGGINGS...

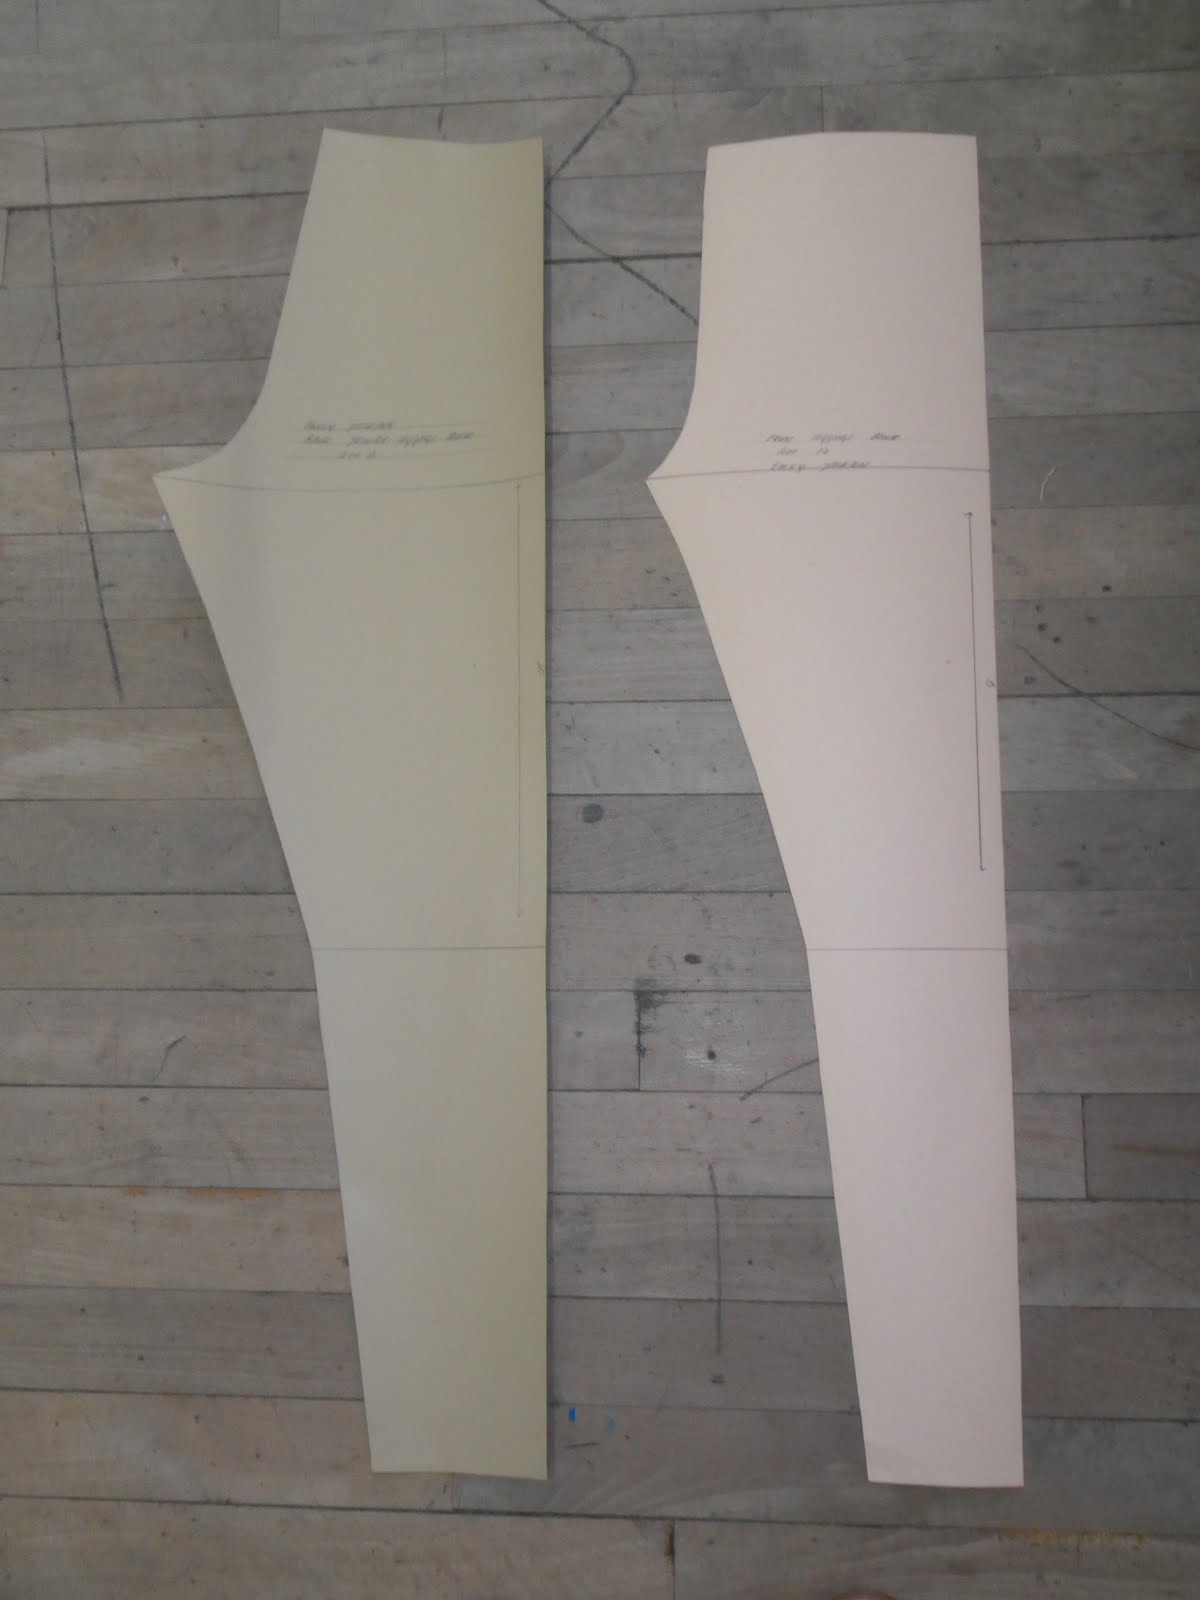
For the last week I have been creating my leggings block for my manufacturing brief as I didn't want to use a trouser pattern. I found this process quite simple following instructions from a Winnie Aldrich book. After I had created that I could move onto patterning and simply traced around the blocks attached the front and back together removing the side seam and drawing 1cm seam allowance and that was my pattern done. I had to use 1cm seam allowance as I am working with stretch fabric so over locking the seams together. If you ever struggle to find a good pattern cutting book I recommend Winnie Aldrich it's simple to follow and has everything in it.

Monday, 14 November 2011

SAMPLING ON LYCRA...

After collecting my own personal collection of Lycra samples I thought it would be a good idea to start sample the PVC onto the Lycra to see which was the least challenging to work with. I found that the thicker Lycra was easiest to work with whereas the mesh was a little bit to hard to handle under the machine and folded over and turned up. I thought the non mesh types were the best and would definitely be using one of the plainer Lycras to create my leggings block.


Which one is your favourite?

Friday, 14 October 2011

SLASHED POCKET WITH WELT...

Now for the harder sample, slashed pocket with welt. This was made of multiple stages that can be confusing if you get them in the wrong order. I found this pocket hard to create but it provided the nicest appearance out of them both as it was more discrete and looked rather professional. I am pleased with this sample as all the stitched lines secured the pocket in the right way not facing many problems along the way. I think if I were to design some trousers I would incorporate this pocket technique as it create a nice effect on the trouser.


FRONT HIP POCKET...

As you well know by now our pattern cutting day is a Friday and we have covered yet more technique on pocket creating. I find these tasks very interesting to deconstruct the pockets in stages so I understand how they have been sewn together. So far I have found these tasks alright to get on with focusing on the end product and trying to achieve the best sample I can in preparation for designing my trousers. I found this sample quite simple to follow instructions as it is made up of only a few stages.

Why not have a go?

Friday, 7 October 2011

LINED PATCH POCKET SAMPLE...

Another sample I finished today was a lined patch pocket which was created by cutting out patterns and sewing it all together keeping in mind it would have to be accurate and very neat. The stages I recorded for doing this technique were:
1. Sew 1.5cm seam allowance leaving a gap about 3cm wide.
2. Reduce bulk leaving top free then bag out and press.
3. Top stitch close to the edge of the pocket starting in a triangle.
If you ever need any help her are some images that mig
ht help you out if you ever decide to create your own very lined patch pocket.
I found this technique a good way to start on pockets educating me on the different components that make up a pocket. I feel this turned out well as the stitching was neat and close to the edge and the pocket was neatly displayed and secured on the mounted fabric.

Friday, 30 September 2011

BUSY FRIDAY...

Today I have been reminising of the times last year where we made a flatfelled seam, so we were set the challenge of doing it ourselves and I found it easier this time round even though I haven't done them for a year. Bazaar I know! After I had completed that I then went onto a harder task of creating a fly zip and here are the steps if you fancy trying one out or are stook right now with inserting one into your trousers:

Cut out short patterns.

Sew from the fly notch 1.5cm seam allowance and notch all around the curved seam.

On Placket sew 1.5cm seam allowance around the curved edge and reduce bulk to 0.5mm.

Bag out and press, then over lock the open edge.

Over lock curved edge on fly facing.

Pull back front of shorts where the right opening of the fly zip is and align fly facing to the point where the stitching stops at the fly notch.

Press towards fly opening.

Place over fly facing and measure 2cm from bottom curved edge of the facing and align stopper to then tack up the middle of the zip.

Secure zip down by sewing in the middle of the zip and curving below the stopper on right side of fabric.

Iron other side of the zip 0.9mm to almost meet the point and press.

Switch the machine to a stitch length of 4 to tack down the right side of the zip making sure its level at the top and close to the teeth.

Pin placket underneath zip lining it up with right side of the zip. Change the stitch length back to 3 and secure on the tacked line.

To finish the fly zip of secure the loose facing and zip with a few stitches and sew from the point leftwards 2mm and back tack making sure everything is secure.

Why not try it home, it will keep you busy.