Friday, 3 June 2011

ORIGAMI PROJECT... WHAT A NIGHTMARE..


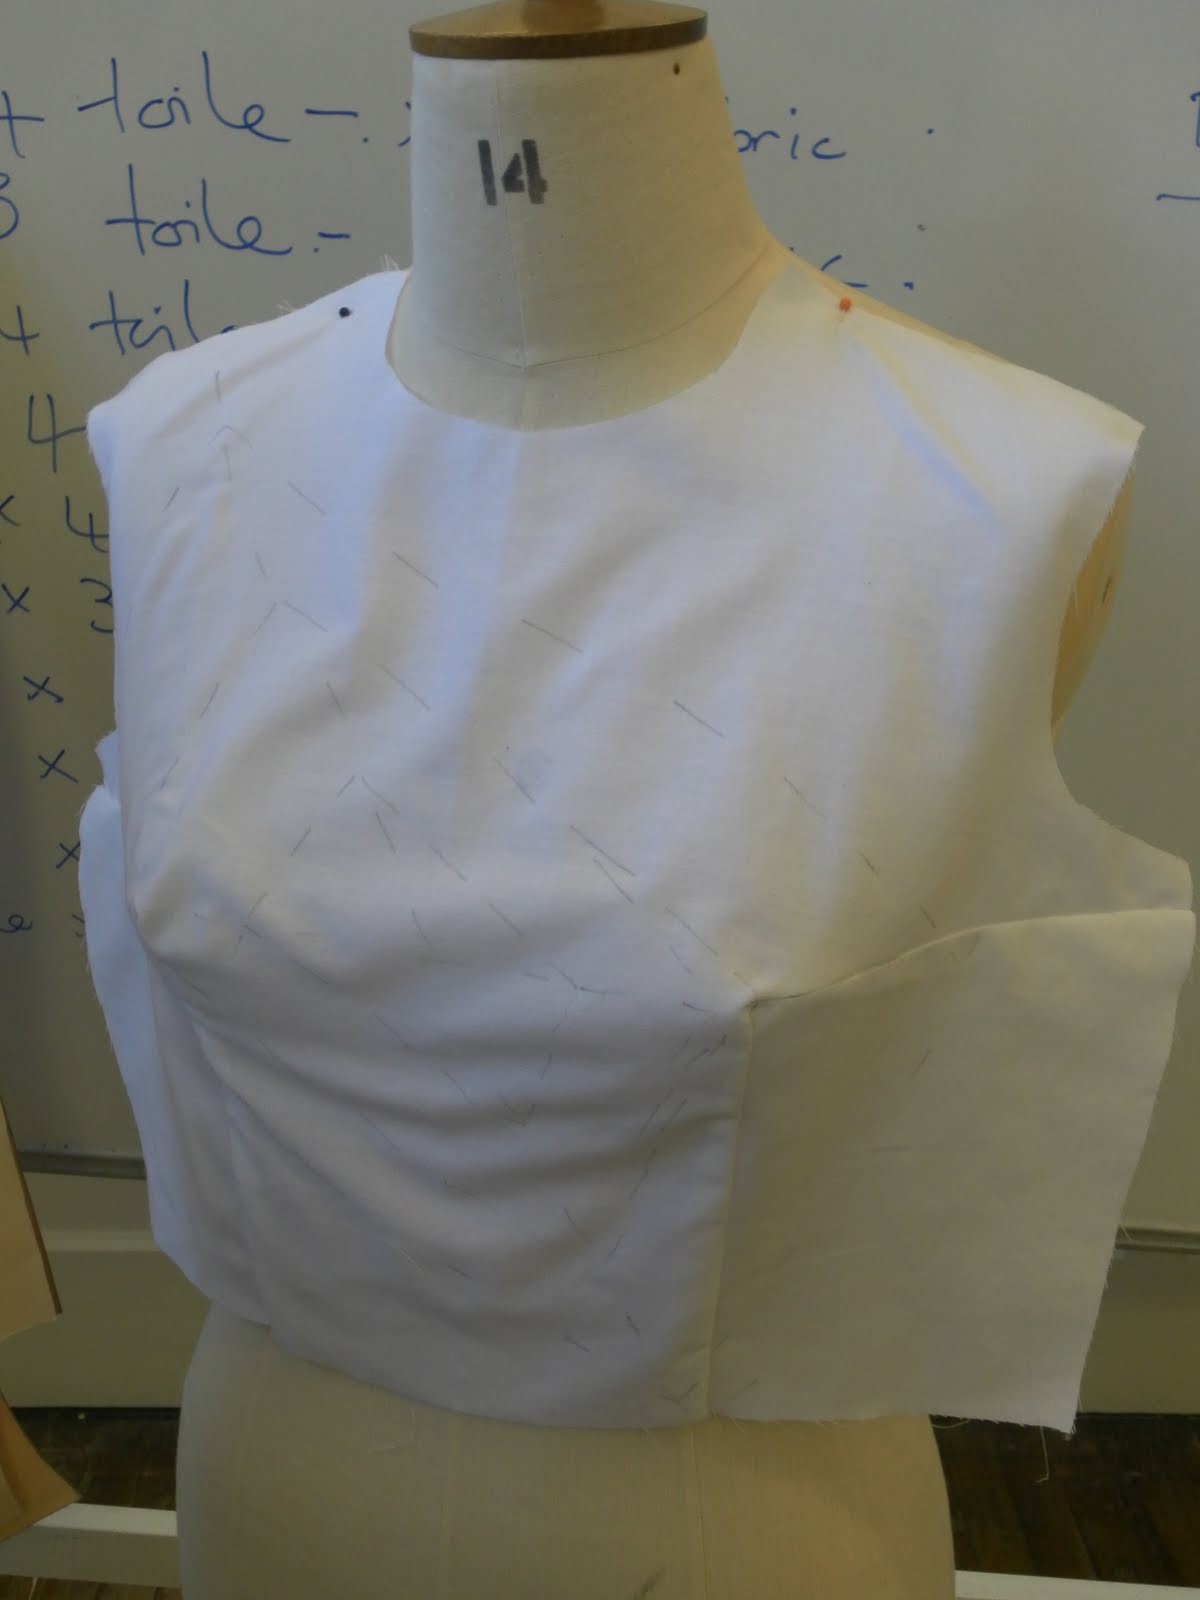
Today I have been trying to figure out how to create a bodice using a method wear you introduce Origami and grading the size from a 12 to a 14. I was finding every stage of it difficult but I just think I left my brain at home and not with it today. Anyway, I am pleased with my result even though the point could have been sharper and that's what has ruined it but for my photographs I will edit that out - if I can.

1. First I started by changing the measurements of all points to a siz
e 14 and cut it out on the fold and began to draw on origami lines and cut along them to create 4 pieces.
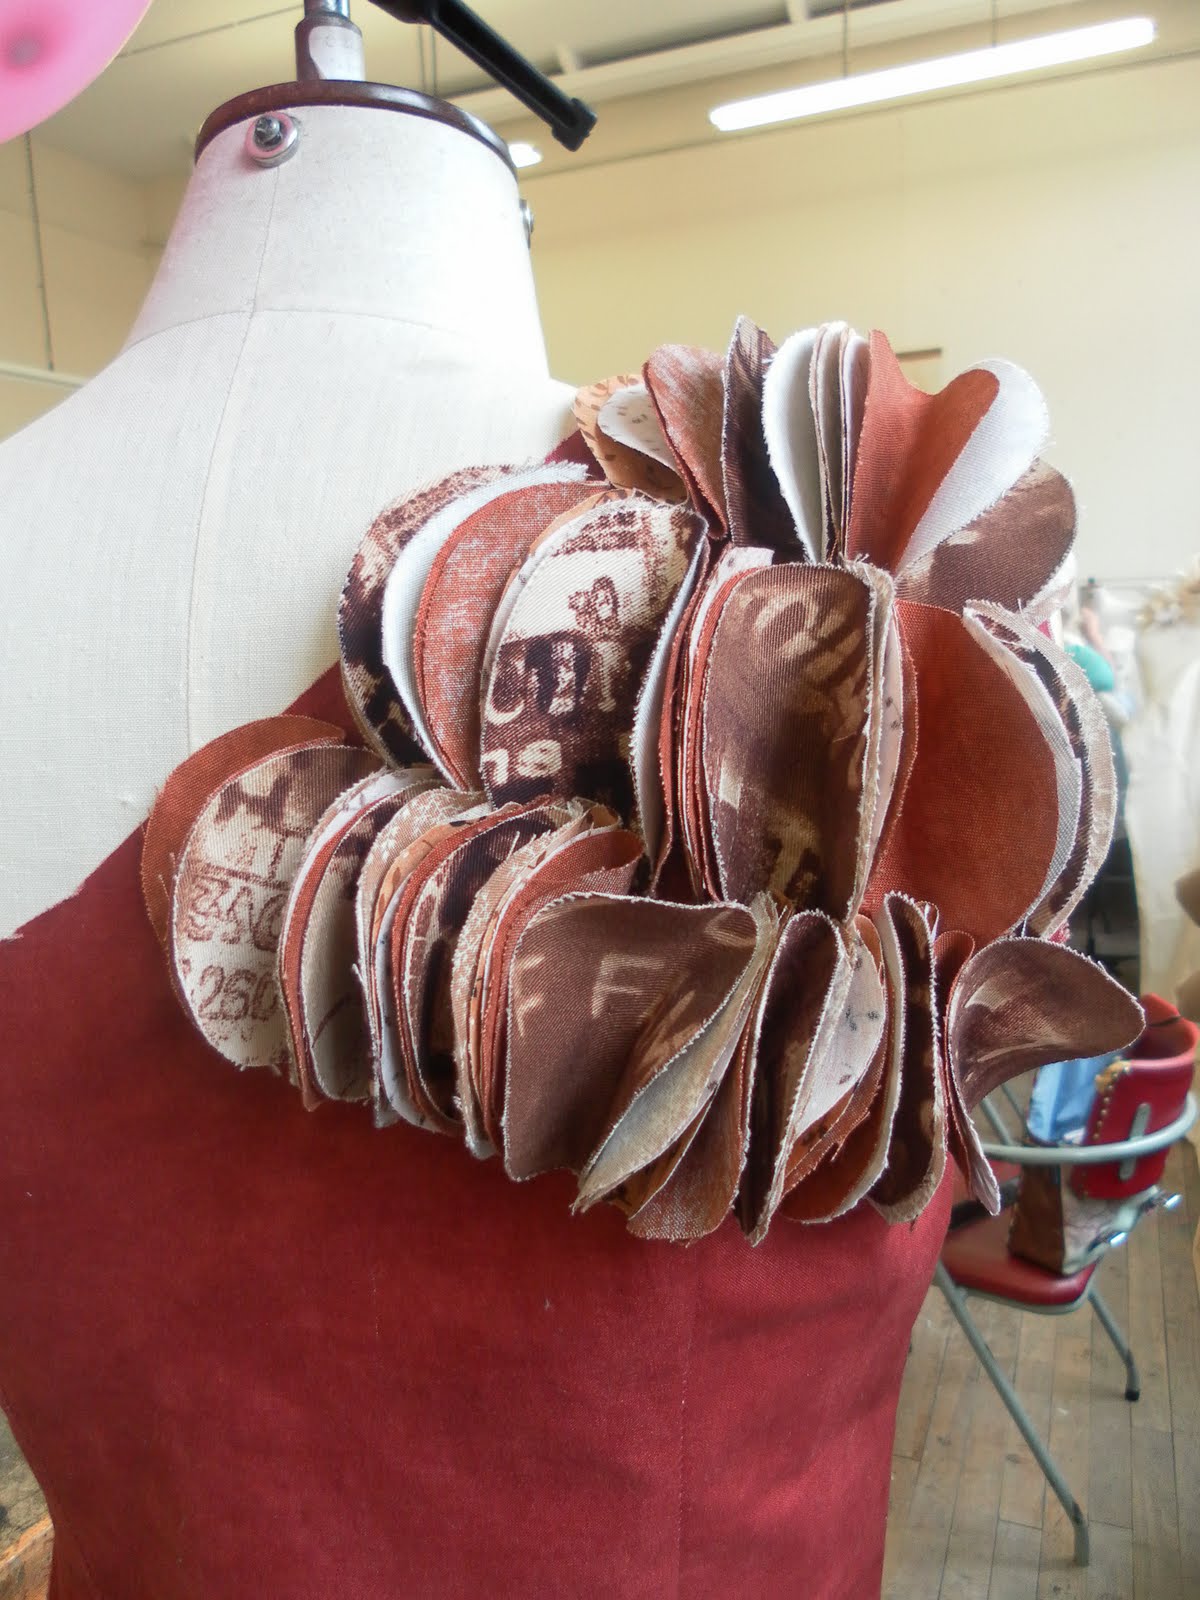
2. Trace round these lines and add 4cm for the fold gap and fold over and repeat with all pieces.
3. Cut the patterns out and attach all the pieces together using a 1cm seam allowance twisting the shapes to fit with each other.
4. Pinch the corners of the rectangles and pin to the press the sides.
5. Slash the corners and fold outwards and press.
6. Give it a final press and hand tack the corners in a hidden area.


Thursday, 2 June 2011

ATTACHING THE CIRCLES TO THE FRONT BODICE...

I know your probably sick of hearing about my circles but the the front circles are attached differently to the back because they need to be more compact so I have compressed the taco shaped curves and layered them up to make them twist which gives a nice effect. Which do you prefer... tight or loose?

CONSTRUCTING THE FACING...

For the facing I first did it incorrect because I was supposed to work against my patterns and did the total opposite - luckily I had some alternate fabric to use. I constructed them using the reverse of what my patterns were telling me. I over locked the edges and ironed on some light weight interfacing and sewed a 1.5cm seam allowance and that was me prepared for after fittings week!

ATTACHING THE CIRCLES ON THE BACK BODICE...

I have come to the conclusion that it would be easiest if I were to attach the circles in places where there are no seams or space for a facing making it easier to complete my garment. For now I have completed the back bodice using the looser circles hand tacking them in the centre of the circle; doubling the thread and knotting to keep them intact. I think the colours work well together because it's the first time I have seen the circles alongside each other and think it has been more successful that I thought. These circles provide the colour and energy the garment needs and gives it power and character.

SUBTRACTIONAL CUTTING... FINAL OUTCOME...

Now you know I did promise that I would show you the final outcome of Subtractional Cutting. As you know I have created this garment as an experimentation task inserted a front and back bodice and a circle randomly on the fabric and this is what I have created. I am pleased with how it has turned out to be honest it looks better than what you think... Try it !
ARM FACING
BACK
FRONT
FRONT
FRONT
FRONT
CIRCLE INSERTION
BACK
FRONT


Wednesday, 1 June 2011

COSTING MY GARMENT...


From all the places and fabrics I have purchased I have finally calculated the cost of my design.
ABAKHAN - £2.65 (1 metre)
£2.78 (1 metre)
£11.75 (5 metres)
TOTAL COST =£17.18

FENT SHOP - £7.80 (1 metre)
£9.60 (2 metres)
TOTAL COST = £17.40

DUNELM - £5.98 (2 metres)
TOTAL COST = £5.98

MY FABRICS - £29.98(2 metres)
TOTAL COST = £29.98

Overall my fabric's total = £ 70.54 which is quite cheap for a Couture market level but will aim at a Ready to Wear target audience due to the price of fabric. Although this process of buying fabric was very stressful I think I have chosen fabrics that work together and make my design look bold and strong even though the prices are cheap and cheerful!

ILLUSTRATION BOARD FOR FINAL DESIGN...

For my illustration board I experimented with various materials and media trying to aim it my selected target audience. I was inspired by Sophie Toulouse, Maren Esdar, Kat Macleod combining all their styles to create my own. The design itself was inspired by my designs features making the circles realistic using the chosen fabrics an hand sewing them on where they would be on the design. The skirt was created by using fabric similar to what I have used and stitch lines exposing influences of Kat Macleod's work. The characterisation of the person is inspired by Maren Esdar's work creating my own little character to act as a muse for my design. The stitch lines that expand outwards through my illustration board were taken from Kat Macleod's work making less negative space visible. The words were used to express the working class and the newspaper background resembles the hard working citizenship working class people provide.
I think it has presented my design in a coherent manner and I think it suits my target audience of a couture/ Ready to Wear market level so I am pleased with the final outcome.